 "StudyStudyStudy" (jesterjin)
01/29/2018 at 16:45 ē Filed to: None
 6
6
 6
6
 "StudyStudyStudy" (jesterjin)
01/29/2018 at 16:45 ē Filed to: None |  6 6
|  6 6 |
A little click baity on the title. This is more 3d prototyping car parts if Iím honest.
The problem:
This is the hand brake I have in my car.
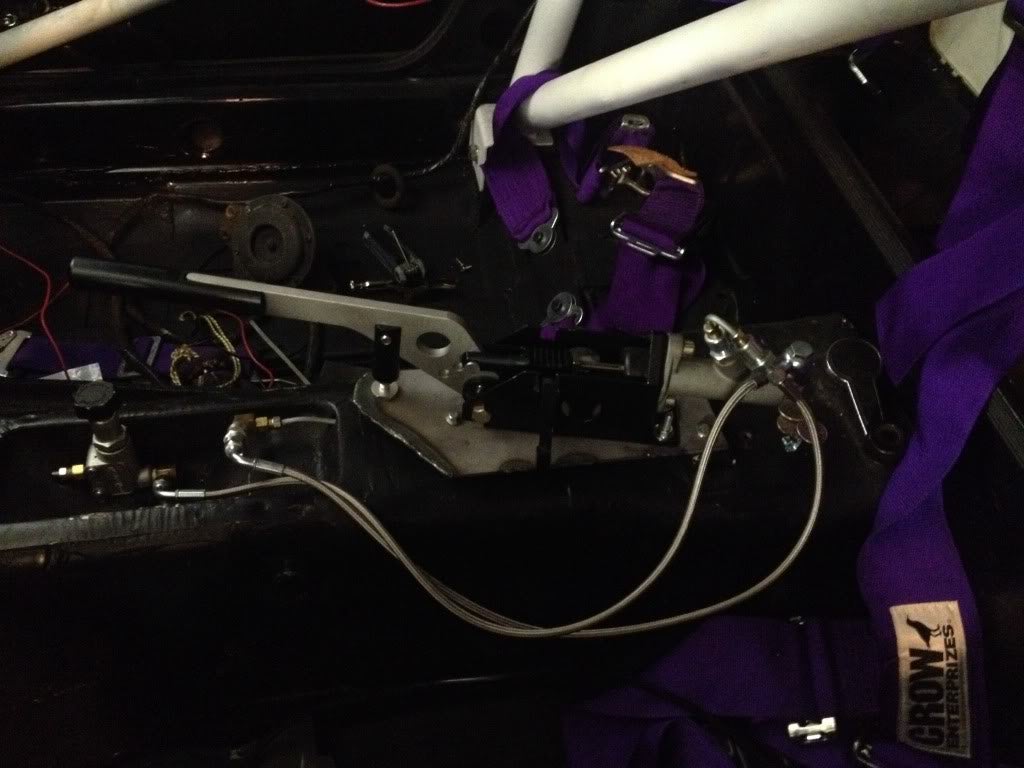
It is loose, wiggly, and has a short handle. While fine for most things, this handle does not lock up the rear wheels while in motion.
Plan is to go to a drift school in the near future. While most likely a simple extension would suffice and I doubt Iíll need a handbrake on my first outing, it is a chance to play around with 3d design a bit, and Iím all for doing that any time I get a chance.
I think the essence of functional design needs to be an analysis of what is available, and a noted improvement on general improvements on the design.
!!! UNKNOWN CONTENT TYPE !!!
http://www.asdmotorsports.com/product/16-pull-back-e-brake/
The two main providers of upper level hydraulic hand brakes are ASD and Nameless as far as I can tell. The tricky thing I found is they basically use a wilwood pedal assembly and replace the pedal and arm with a handle.
!!! UNKNOWN CONTENT TYPE !!!
In reality you could either adapt off the pedal holes or cut the pedal arm and weld on an extension and have a fully functioning hand brake for quite a bit less (almost 1/2 really), but I digress, the point is to improve upon a design. The fact I didnít know you could buy the pedal assembly until after doesnít help either.
First off is making a rough design with your improvements in place. For my design a goal was to remove the slack present in the system. This could easily be done with more frictionless surfaces and spacers, but that would be too easy.
So how does one keep something perfectly spaced, yet allow for rotation around an axis?
Bearings! Bearings do a great job of maintaining location while allowing axial rotating.
So I grabbed a pack of bearings to play with and design off of.
First thing to make is the blank plate. The only thing of reference we want to keep is that the pivot point has to be inboard enough to leave room for the bearing, which in real life will be welded so will need room for welding as well.
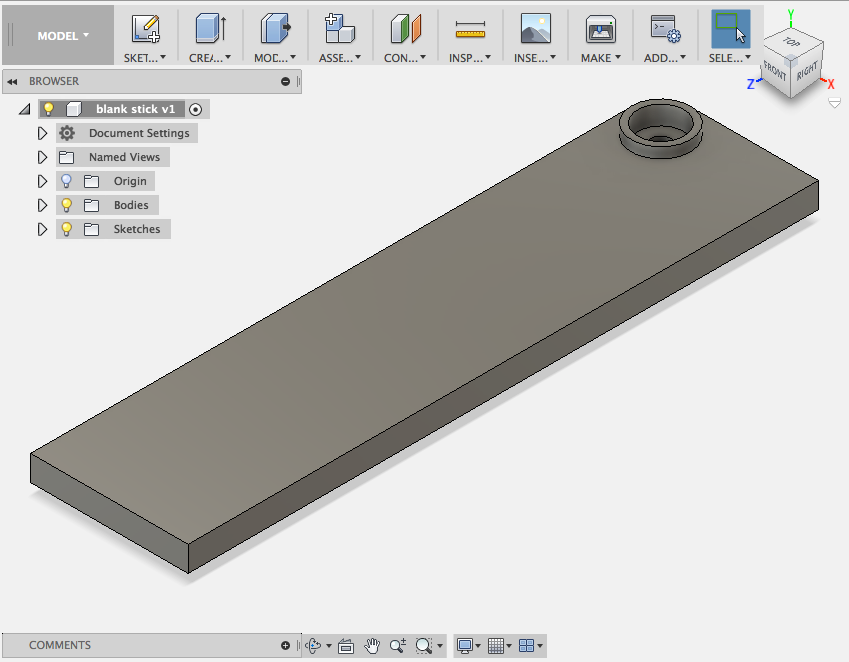
From this blank we can play around. Using some simple design you can come up with a pretty basic handle.
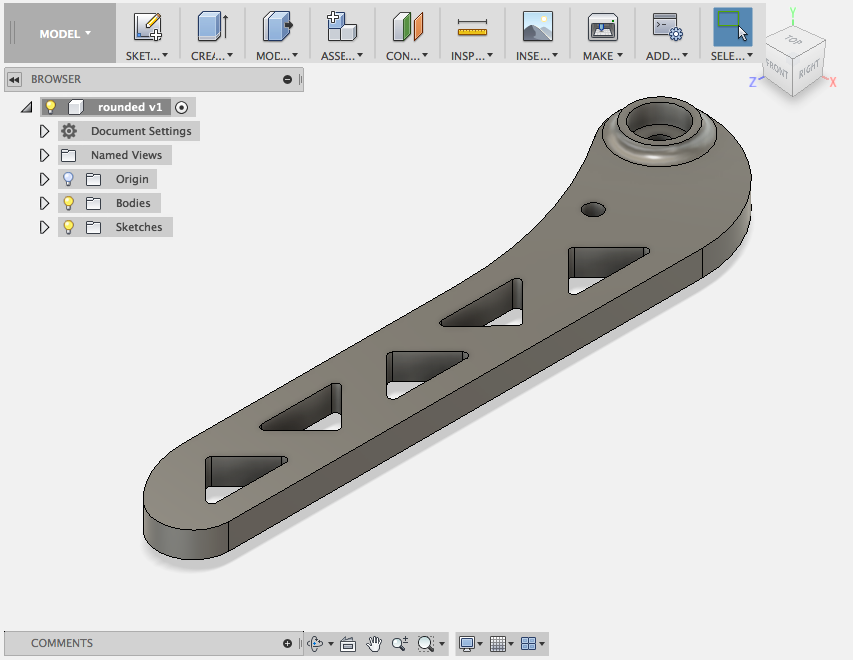
I will say when designing something very long it is very hard to avoid a phallic shape. After looking up the cost of CNC machining or water jetting handles as well as the weight, I decided to forgo this and the phallic shape and just go for a simple handle a long tube. That meant all I needed from the pivot was room to weld on a pipe and to house the bearings.
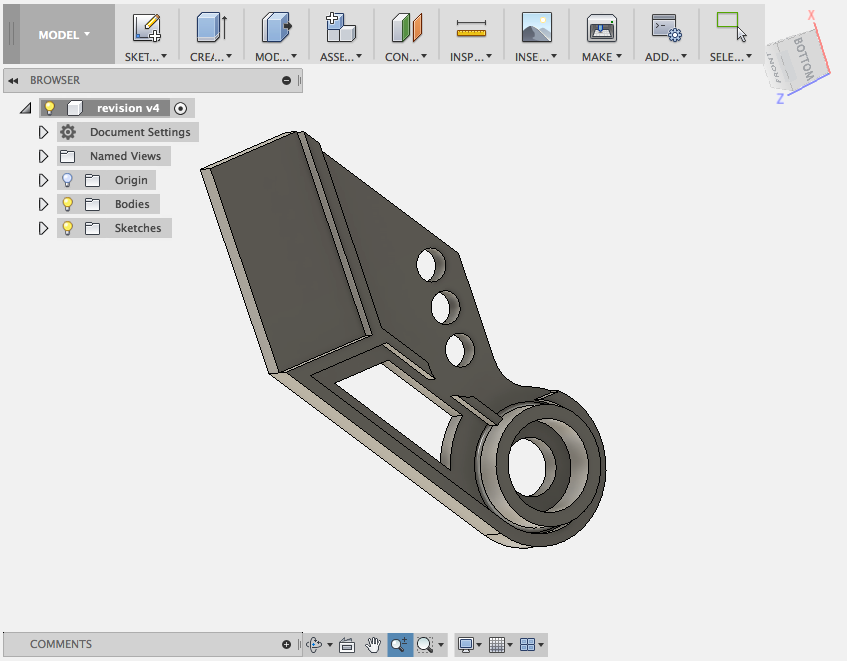
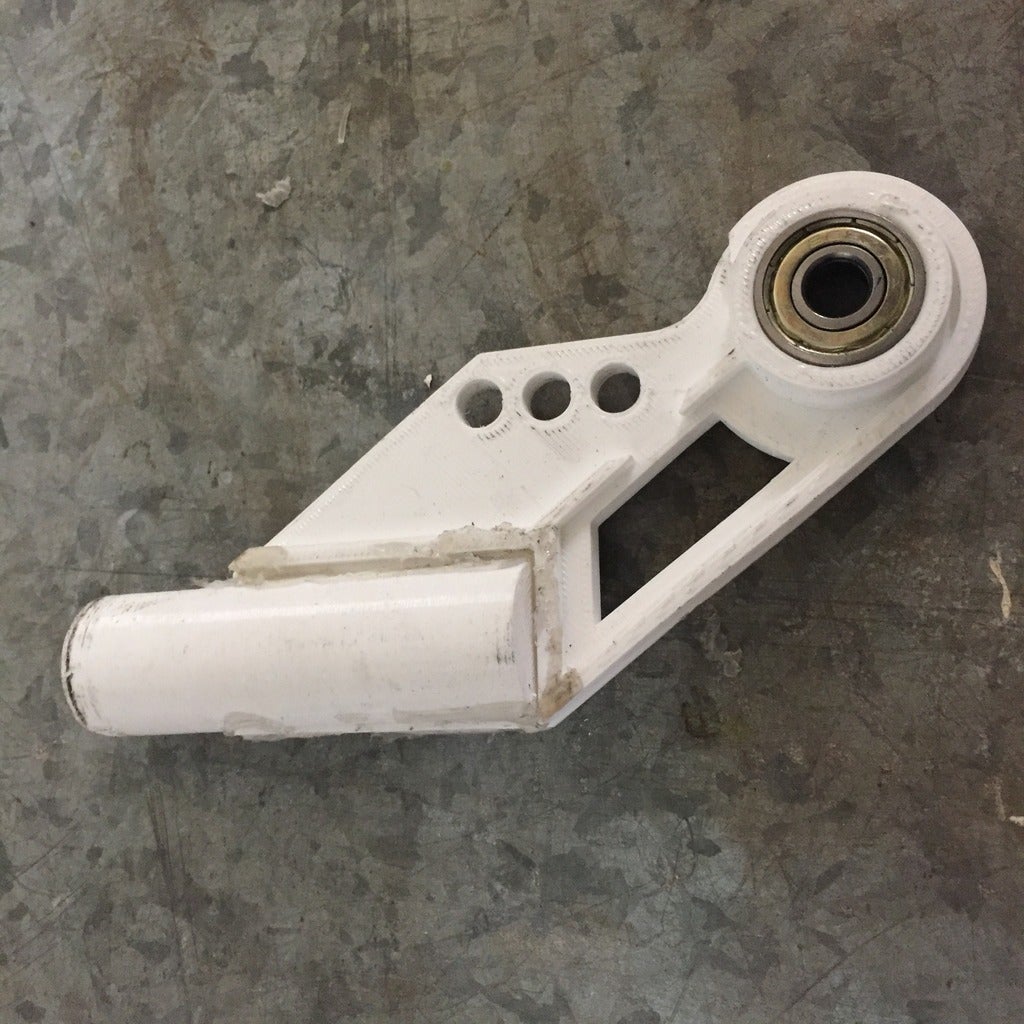
That means the blank now only has to have enough room for the tube in question to be welded on drastically cutting down the size. I added some bracing for support, some extra holes for adjustment, and a window to save on some printing material. Voila the handle pivot.
Since I didnít want to have a massive gap and I wanted two bearings under tension to make the handle truly centered and essentially frictionless, I printed the second piece separate.
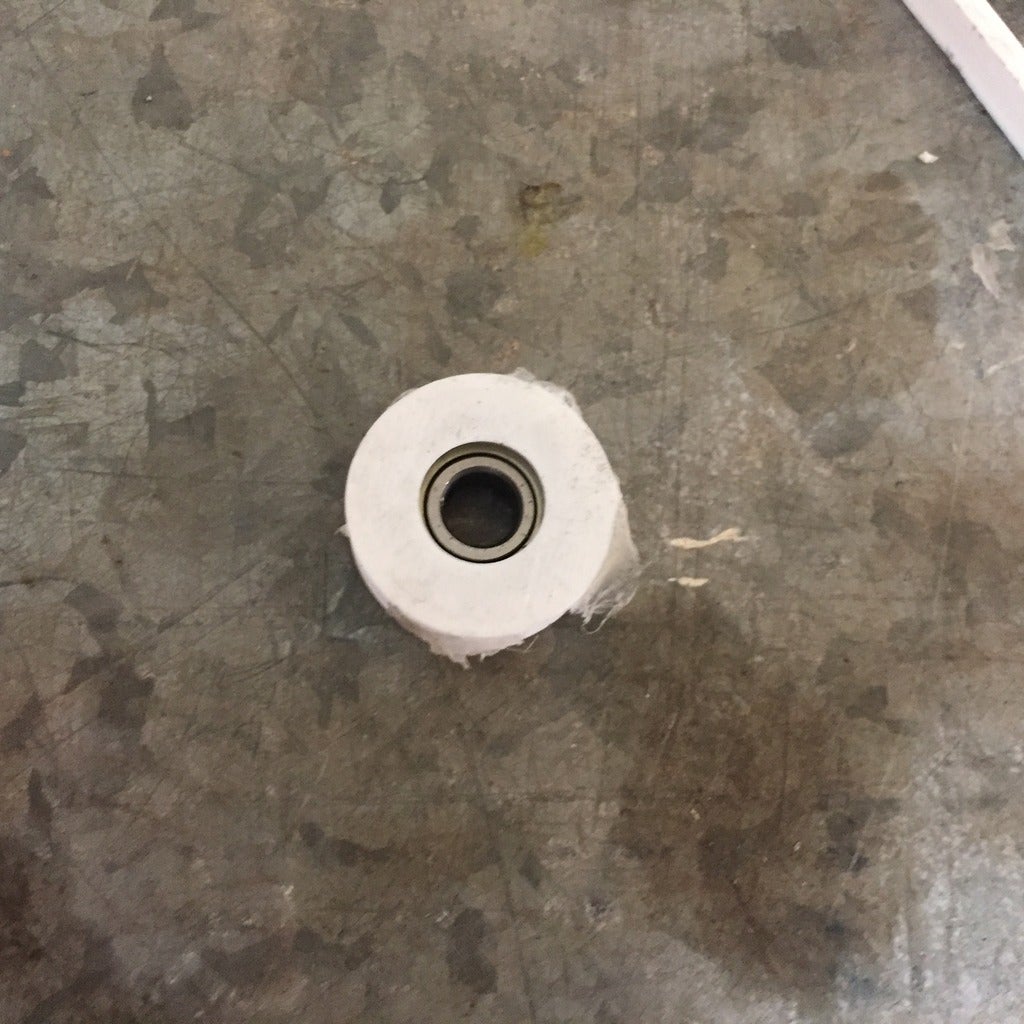
(note after shot, the remnants are of hot glue used to assemble the piece for mockup)
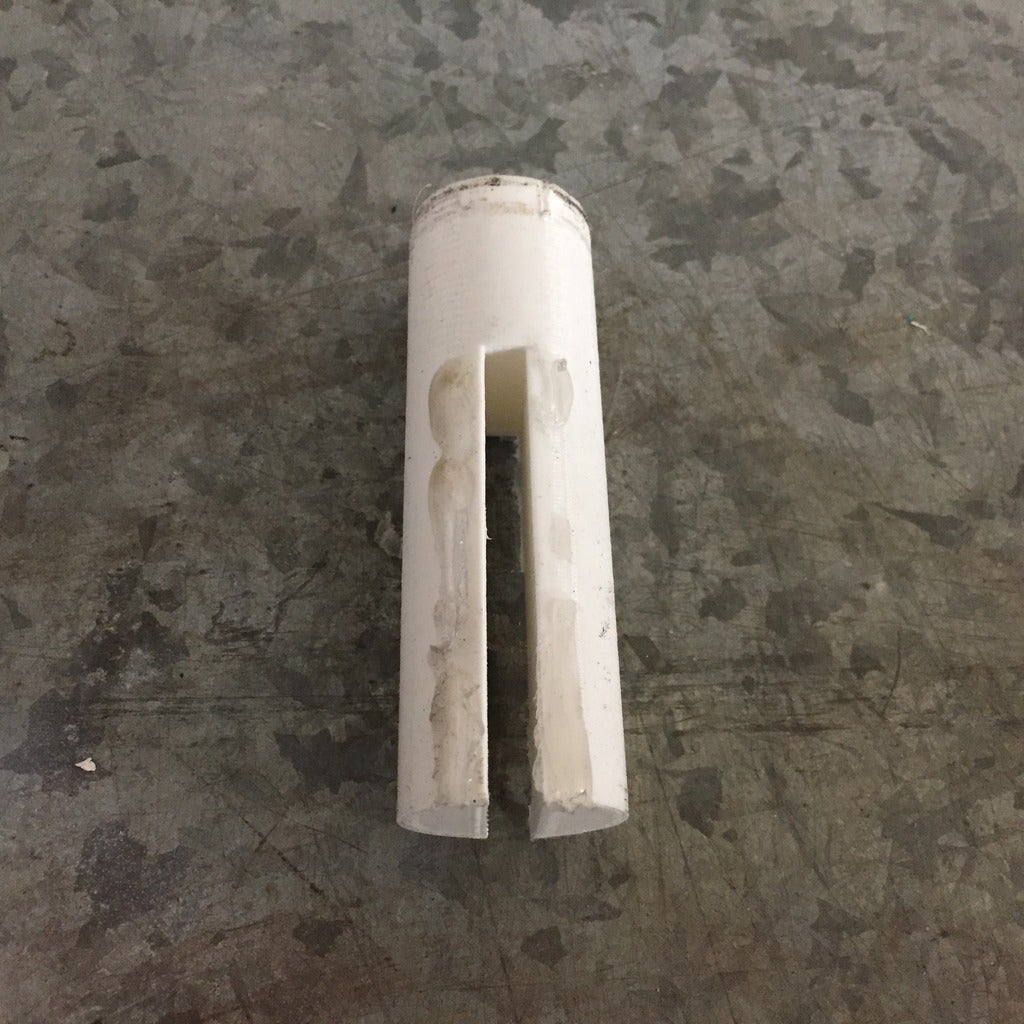
While the final handle would be welded on, for mock assembly I made an adapter to the handle.
All 3 pieces together.
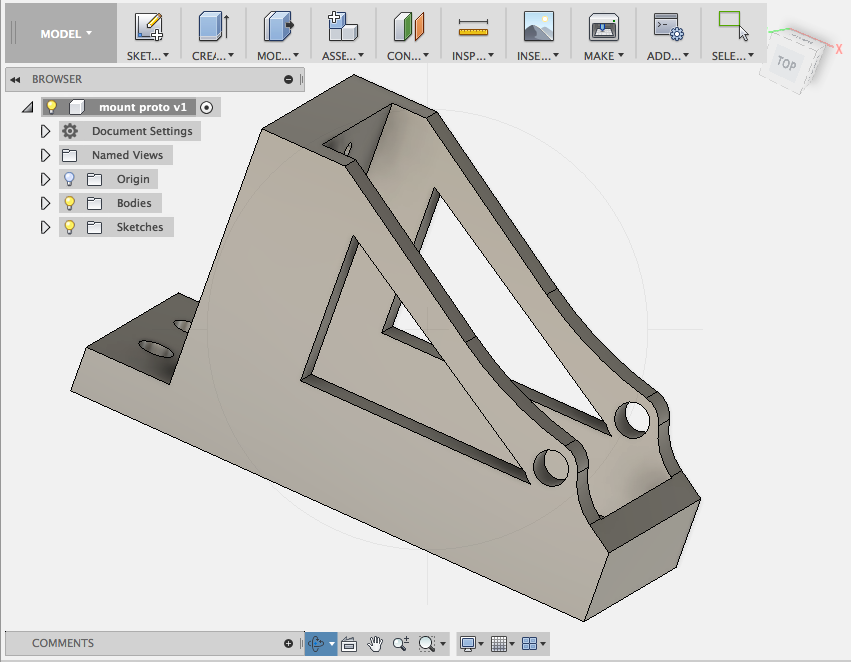
Then the base design. Without actual parts to go off, I made a simple mock sketch just based off of some random numbers.
Then I found this nice diagram online of the wilwood master
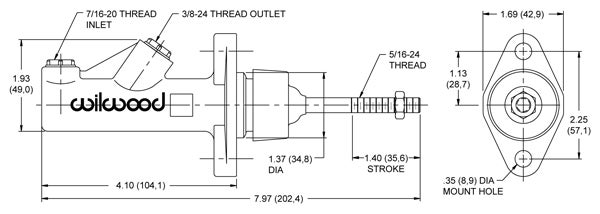
Which allowed me to generate a more to scale diagram.
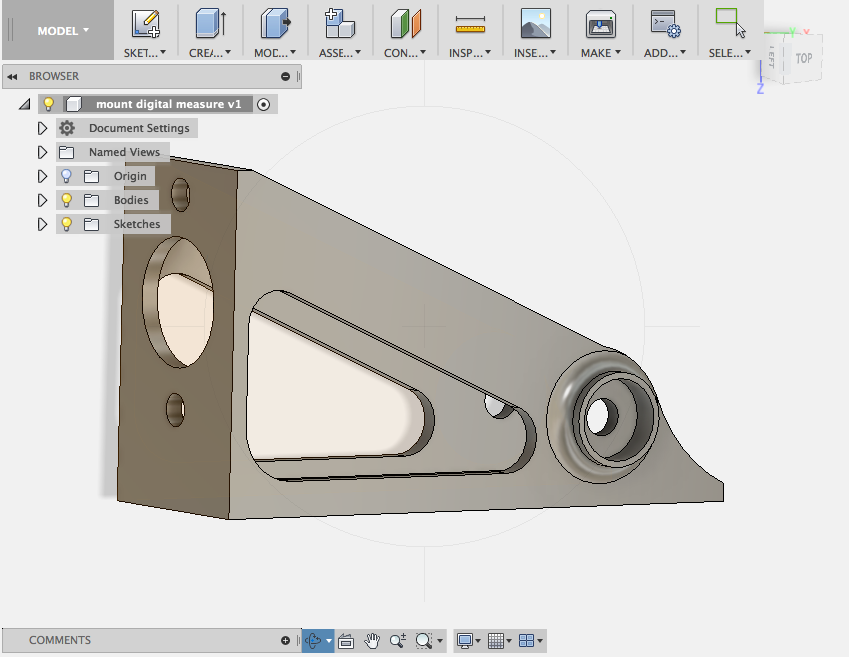
Then I simplified the design since it would be easier to just fabricate out of steel rather than having it machined.
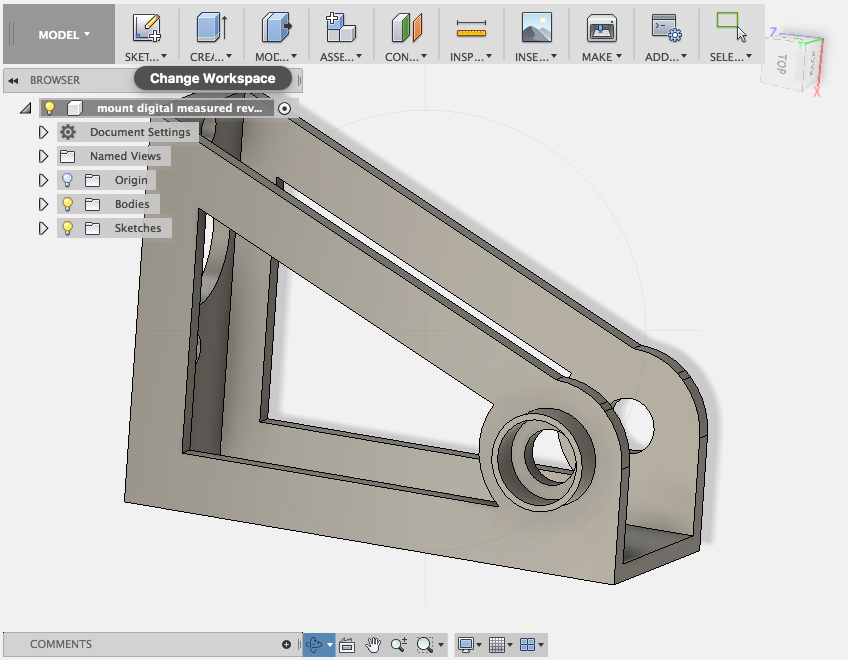
Since I had bought a couple of the cheaper hand brakes I didnít need a base to test my setup. So testing was done on another base. After function was confirmed, I ordered the metal that would be needed for this endeavor.
The design would be simple and with my bandsaw this wouldnít take very long.
First is to mark all the holes.
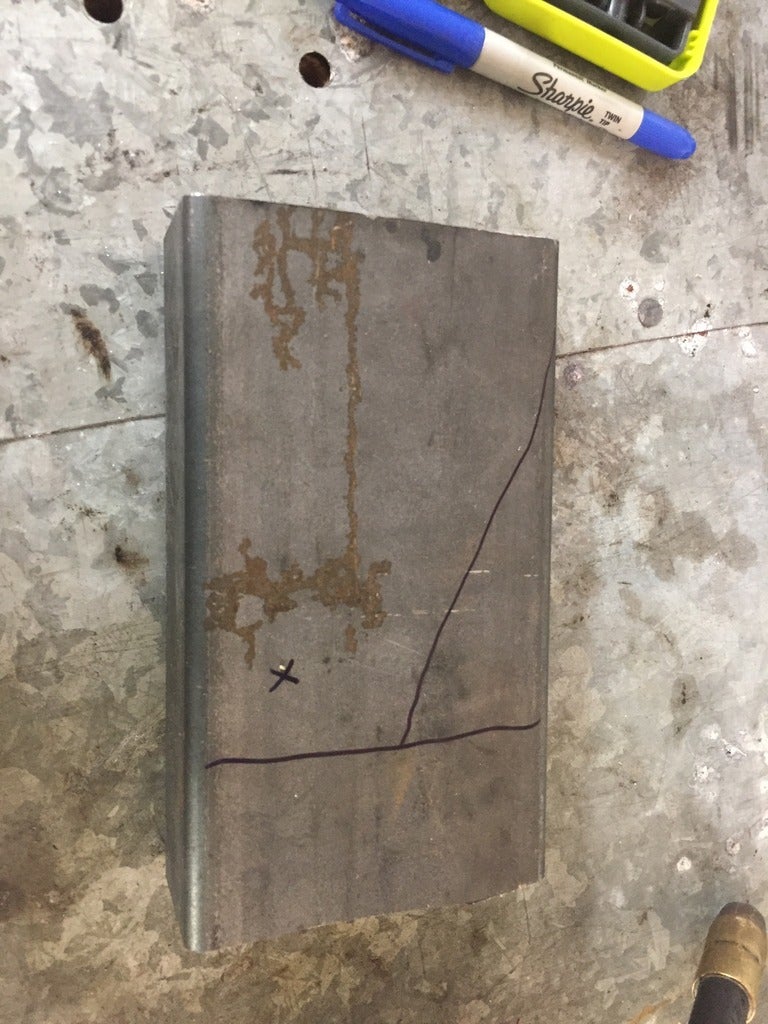
Then to punch a divot to make sure the drill bit doesnít deviate. Make sure to file around the divot so your drill bit doesnít wander on the raised edge.
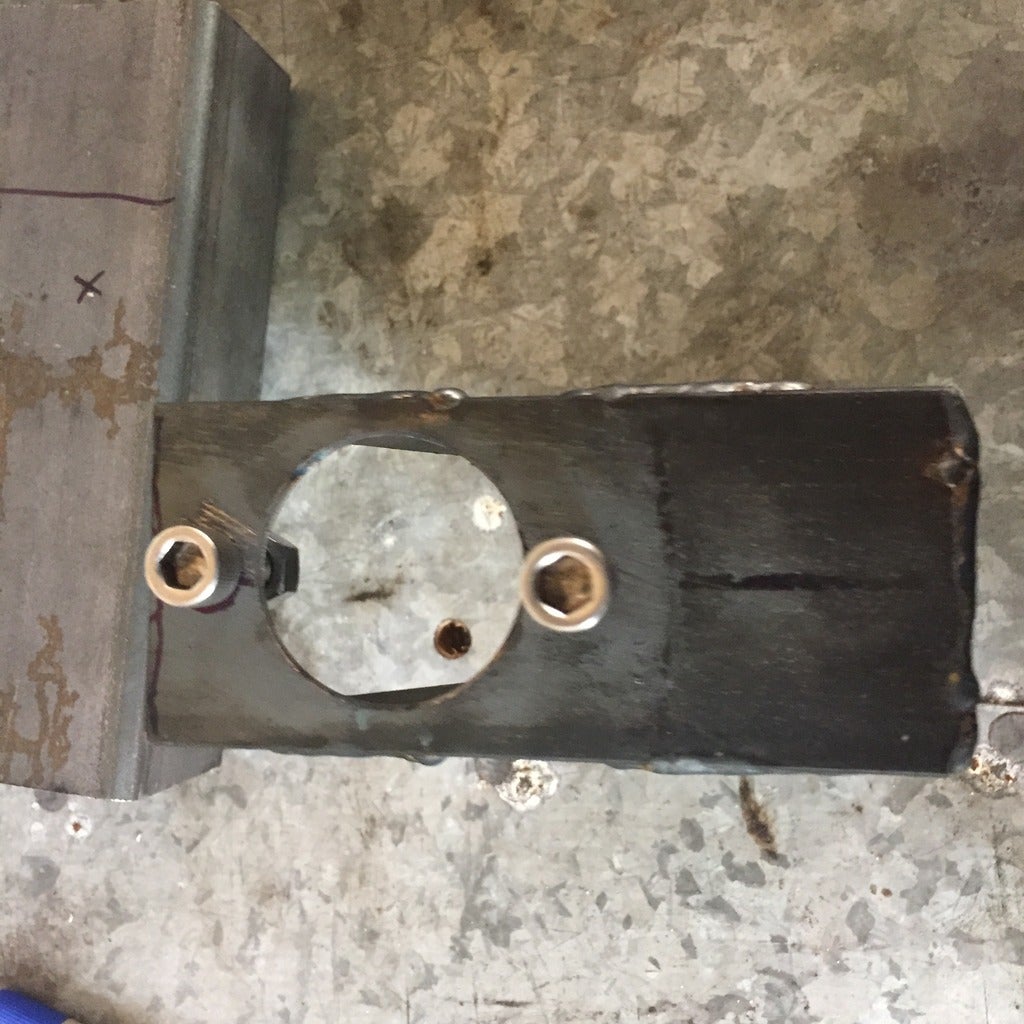
Next we cut our pieces to size. The tubes are easily cut with a tube cutter. Several spacers were made for testing the bearing stops.
Next we weld the pieces together. Since these are prototypes the welds donít particularly need to be complete or pretty, so donít critique me >.<. If I wanted it pretty I would have setup and used a TIG or at least ran a pattern with the MIG instead of just a straight line.
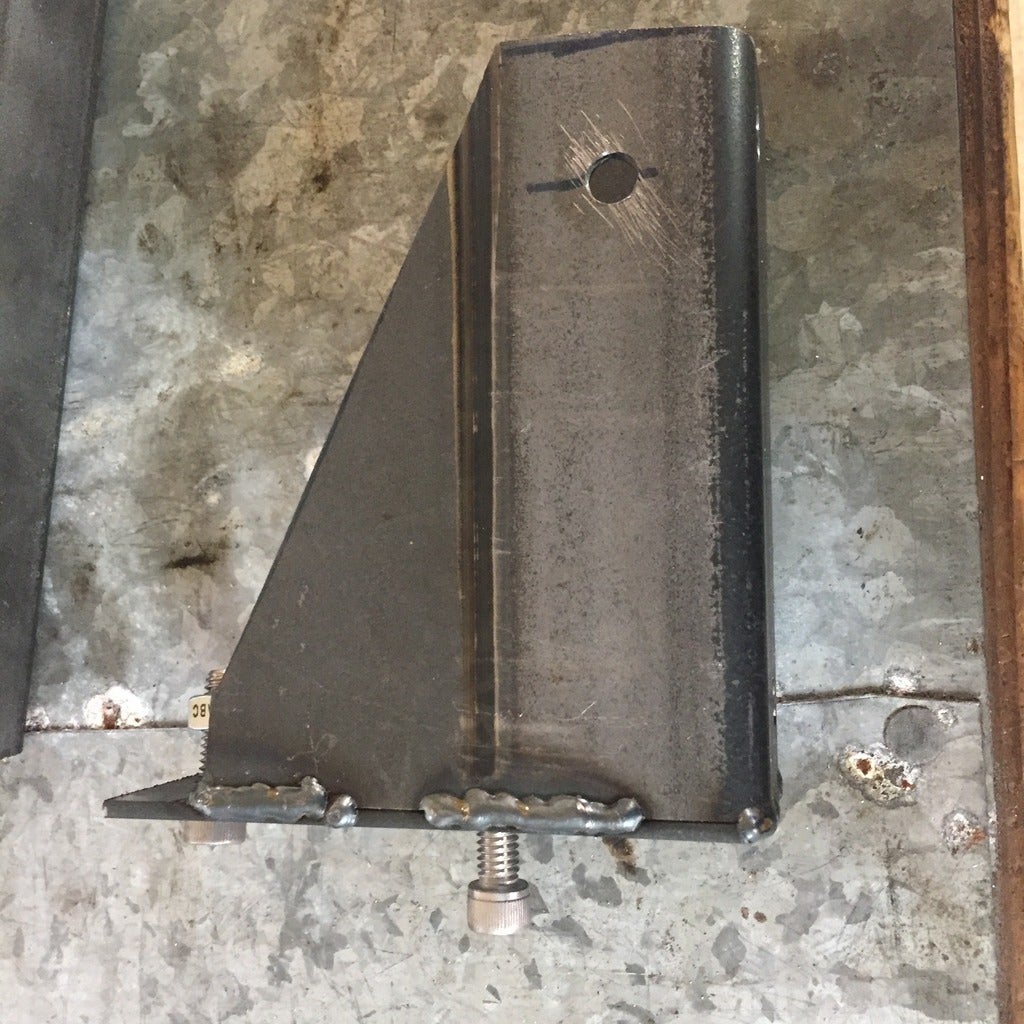
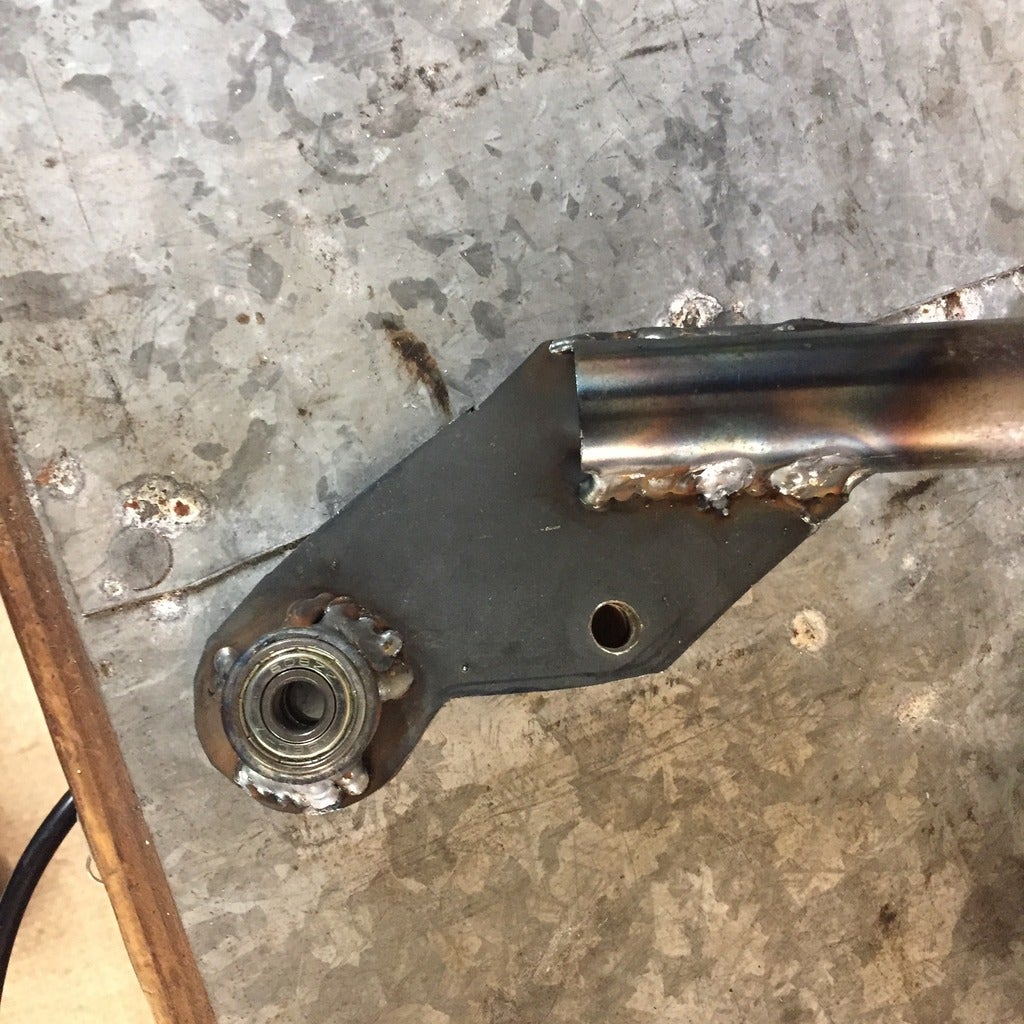
With the base and the handle welded we can now assemble the whole setup.
Since we measured everything, everything goes together perfectly. The handle has 0 play on every plane except the forward and backward plane. The only actual play is forward which is the slack from the master (or else the master would be engaged all the time, I suppose I could add a magnet or spring to keep the handle pushed forward a tad).
Some extra holes on the bottom to mount the piece and done.
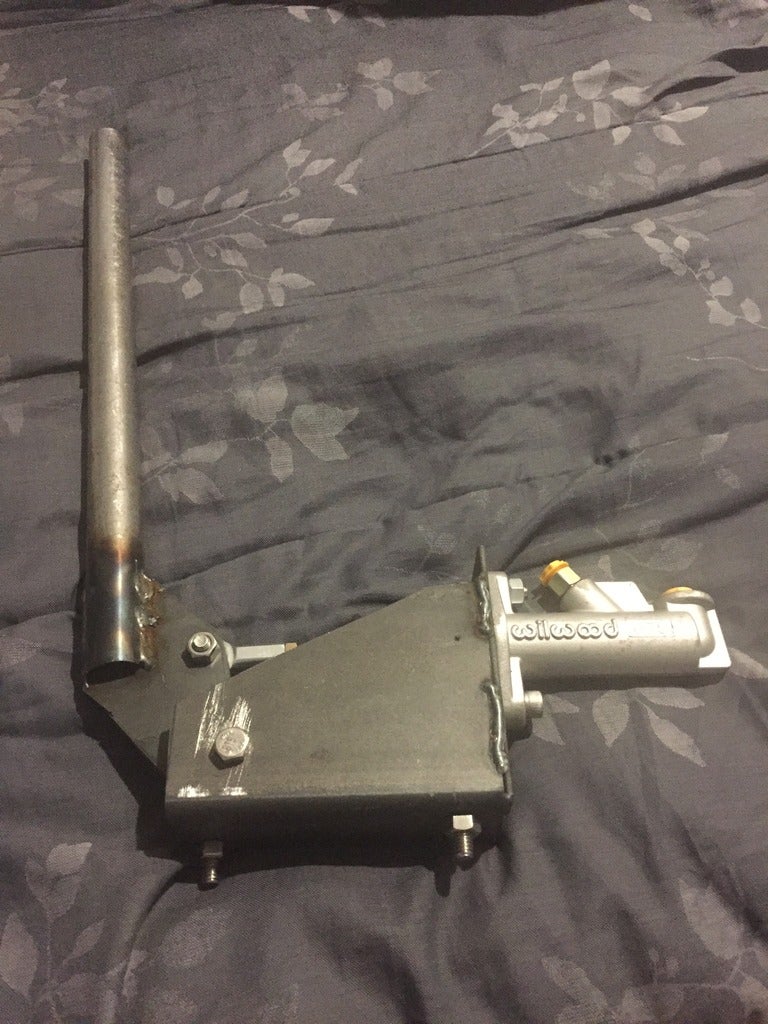
The kind of sad news was that a couple days ago, I heard and found out about the villains hand brake.
!!! UNKNOWN CONTENT TYPE !!!
Quite similar with similar ideas and more sanely priced in my opinion. I think my design has a couple improvements, one being the raised height of the master for more distance (shorter throw), and the other being the bearings and stops for butter smooth pivoting and precise action. Still some work do be done with skeletonizing it, maybe playing around with some type of parking brake mechanism and such as well, but good enough to test out in a couple weeks.
 BaconSandwich is tasty.
> StudyStudyStudy
01/29/2018 at 17:00 |
|
Nicely done!
This post reminds me that I really do need to learn to use Fusion 360...
 StudyStudyStudy
> BaconSandwich is tasty.
01/29/2018 at 17:03 |
|
So do I, I learned just enough to get started, but still donít really know it very well. I think if someone more experienced saw my sketches they might vomit.
 BaconSandwich is tasty.
> StudyStudyStudy
01/29/2018 at 17:06 |
|
I get the same feeling, although I havenít done much (read: anything) with it yet. Iím used to polygonal modelling in Maya (for the sake of 3D rendering). I understand the idea behind parametric modelling, but I still havenít spent the time to get used to the tools.
 StudyStudyStudy
> BaconSandwich is tasty.
01/29/2018 at 17:14 |
|
I honestly donít know the difference, I would infer one is more numerical and one is more sculpted? Iím so new to this it hurts sometimes.
I definitely want to learn a bit more, nice thing about fusion is that it is free for hobbiest and students I believe. It has quirks that pop up, and I hit my head against what I want it to do and what it is able to do, but canít compete for the price and function.
 TheTurbochargedSquirrel
> StudyStudyStudy
01/29/2018 at 17:46 |
|
When it is warmer and I can get around to it I am going to model a piece to mount over my positive battery terminal where it sticks out from under the cover. Something nicer for passing autocross tech than my current solution of poorly wrapping it in electrical tape.
 diplodicus forgot his password
> StudyStudyStudy
01/29/2018 at 17:50 |
|
I wouldnít say Iím an expert but Iíve been fucking around with fusion for about a year. I recently learned about components. The advantage is you could have all of those separate pieces in one file, while still being separate entities. Then if you choose to use the simulation feature you can see how they interact. Not a big deal and you could still add your other bodies and create components from them, just not something that was obvious to me when I started.